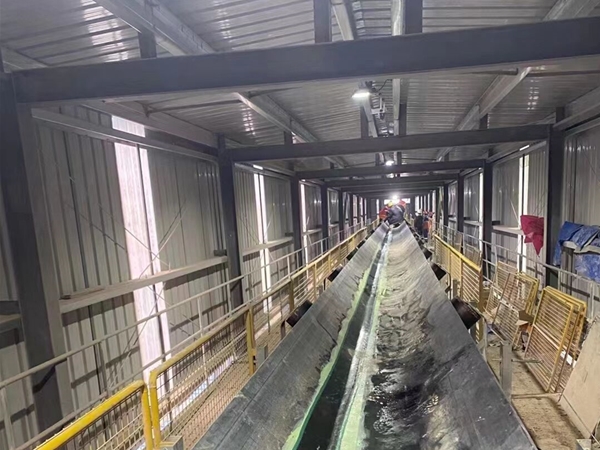
Conveyor belts are essential for efficient material handling, supporting continuous, high-capacity transportation across long distances. However, according to industry data, conveyor belts account for approximately 80% of total conveyor maintenance costs, making timely and effective repairs crucial. Utilizing a reliable conveyor repair kit, particularly rubber repair bands, can significantly extend the lifespan of conveyor belts, reduce downtime, and cut operational expenses.
Why Timely Conveyor Belt Repair Matters
Belt damage is inevitable in industrial settings, yet prompt action can drastically minimize production downtime and maintenance costs. Choosing the right conveyor repair kit, including cold vulcanizing adhesives and rubber repair bands, allows for quick, on-site repairs without extensive downtime or specialized equipment.
Preparation for Conveyor Belt Repair
Essential Tools and Materials: Angle grinder, Tungsten carbide buffing disc, Cleaning brush
cleaning agent, Pressure roller, Cold vulcanizing adhesive (two-compound), Conveyor belt repair strips (rubber repair bands)
Inspection & Selection:
Inspect the conveyor belt thoroughly, marking the damage clearly. Choose a rubber repair band 2-3 cm wider than the damaged area to ensure proper coverage and adhesion.
Step-by-Step Conveyor Belt Repair
Step 1: Surface Grinding
Using the angle grinder equipped with a tungsten carbide buffing disc, remove damaged belt material down to match the thickness of the selected rubber repair band.
Shape the edges of the repair area into a “V” formation to maximize adhesion.
Thoroughly brush and clean the surface, removing debris, oils, and dust using the industrial-grade cleaning agent. Ensure the surface is completely dry.
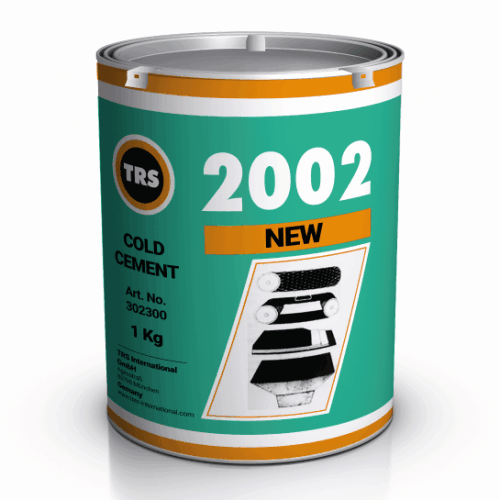
Step 2: Applying Cold Vulcanizing Adhesive
Mix cold vulcanizing adhesive and hardener according to the manufacturer’s recommended ratio (typically 100:4).
Apply an even coat of adhesive onto both the prepared belt surface and the semi-cured CN bonding layer of the rubber repair band.
Allow the first coat to dry until tacky, then apply a second coat to enhance bonding effectiveness.
Step 3: Attaching the Rubber Repair Band
Begin by carefully aligning and attaching one end of the rubber repair band to the damaged belt area, pressing gradually to avoid air bubbles or wrinkles.
Roll repeatedly over the rubber repair band with a pressure roller, ensuring complete adhesion and removing any trapped air.
Post-Repair Notes
Curing Time
Allow the repaired area adequate curing time—usually several hours to one day, depending on adhesive specifications and ambient temperature.
Inspection and Ongoing Maintenance
After returning the belt to operation, regularly inspect the repaired section for signs of wear or loosening.
Promptly address any emerging issues to maintain reliable belt performance.
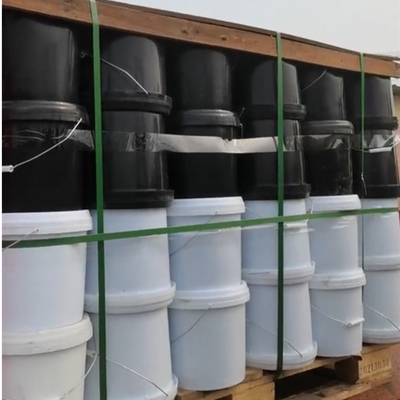
Storage and Safety Considerations
Store cold vulcanizing adhesives and rubber repair bands in a cool, ventilated area, away from heat and open flames.
Maintain good ventilation during repair operations for safety.
Benefits of Using Quality Conveyor Repair Kits
Using high-quality conveyor repair kits and rubber repair bands offers significant operational advantages:
Reduced Downtime: Quick and effective on-site repairs minimize interruptions.
Cost Efficiency: Proactive maintenance prevents expensive belt replacements.
Enhanced Longevity: Reliable adhesion and robust materials extend belt service life.
Conclusion
Investing in professional-grade conveyor repair kits, particularly cold vulcanizing adhesives and rubber repair bands, ensures efficient conveyor belt repairs and optimal operational reliability. Adhering to these best practices will help industrial operators maintain conveyor systems at peak performance, significantly reducing downtime and maintenance costs.