In busy conveyor systems, conveyor belts often suffer from long-distance scratches. Traditional hot repairs are complex and time-consuming, no longer meeting the demands of modern industry. Conveyor belt repair strips, as a new type of repair material, offer outstanding wear resistance, strong adhesion, and tear resistance properties, making them ideal for repairing long-distance scratches and various damages.
The semi-vulcanized CN layer of the conveyor belt repair strip has super adhesive properties, allowing for quick repairs, and enabling the production line to resume operation rapidly. We offer two types of repair strips, standard and reinforced, to accommodate different conveyor belt damage conditions. Here’s an introduction to how they work and the tools/environment needed for repairs, as well as the operating steps:
How it works: Using a cold-vulcanizing adhesive, attach the repair strip with a semi-vulcanized bonding layer to the conveyor belt surface. They undergo a chemical reaction, quickly curing and achieving a solid bond with the conveyor belt.


Operating Steps:
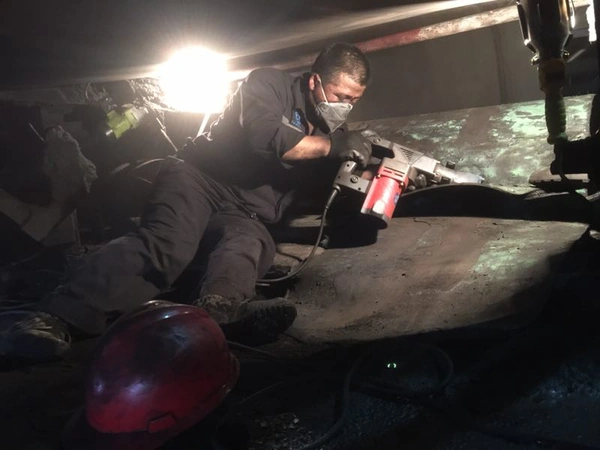
- Preparation: Ensure you have the necessary safety equipment like gloves and safety goggles. The tools and materials required for general operations include conveyor belt repair strips, tungsten carbide buffing disc, angle grinder, cold-vulcanizing adhesive, and cleaner.
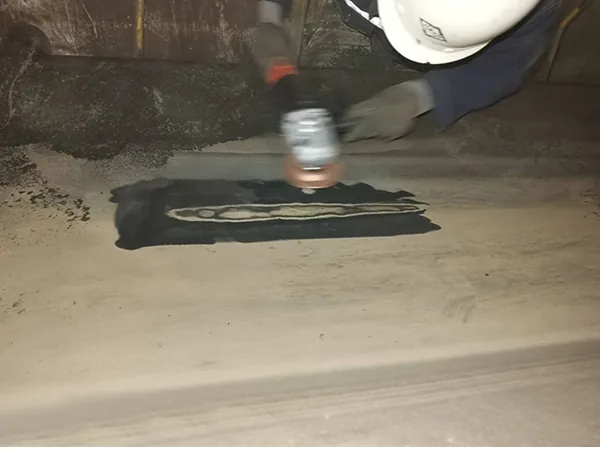
- Clean the damaged area: Use a high-powered, low-speed angle grinder and tungsten carbide buffing disc to roughen the conveyor belt repair surface. Ensure that the depth of grinding is greater than the thickness of the repair strip to avoid affecting the cleaning scraper’s effectiveness. Use a cleaner to thoroughly clean the conveyor belt repair surface and let it dry.
- Cut the Conveyor Belt Repair Strip: Depending on the size and shape of the damaged area, cut the rubber repair strip into the appropriate shape and size. Ensure that the rubber repair strip is slightly larger than the injured area to fully cover and bond to the conveyor belt.
- Apply cold vulcanizing adhesive: Mix the cold vulcanizing adhesive and hardener evenly and apply an appropriate amount to the entire repair surface of the conveyor belt. Ensure even and complete coverage of the repair area.
- Attach the conveyor belt repair strip: Attach the pre-cut repair strip to the damaged area coated with adhesive. Ensure that the repair strip makes full contact with the belt surface, with no bubbles or loose sections. Use a compacting roller to lightly press the repair strip to ensure a tight fit on the belt.
- Curing and drying: Follow the instructions for the cold-vulcanizing adhesive to allow the repair strip sufficient time to cure and dry (usually several hours). During this natural curing process, avoid any contact with objects or external forces to ensure the stability of the repair area.
- Inspection and testing: After completing the repair, carefully inspect the repair area to ensure that the repair strip is firmly in place and free of any looseness or cracks. Perform necessary tests, such as tension tests or trial runs, to ensure the quality and durability of the repair.
- When multiple repair strips need to be joined for patching, attention should be paid to the overlapping method